DIY: How to Make Retro Pinup Duck Tape® Shoes
This is a Sponsored post written by me on behalf of Duck® Brand. All opinions are 100% mine.
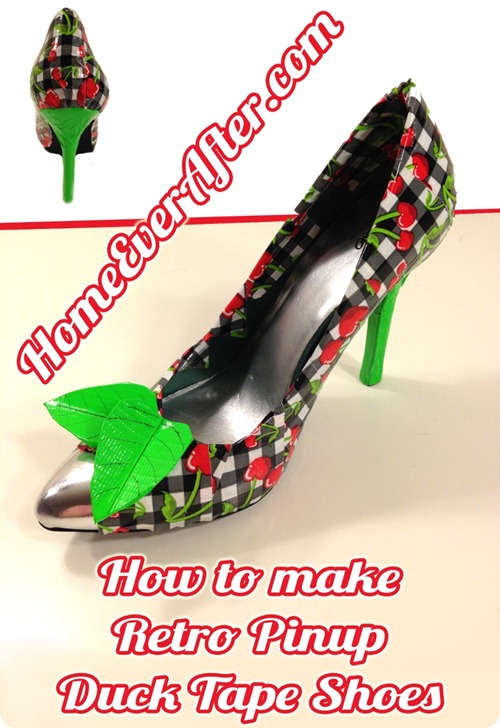
Just in time for prom, my crafty DIY Duck Tape® project shows you how to make retro pinup Duck Tape® shoes!
Duck Tape® always gives me the most fun projects to do! This time, since it’s prom season, Duck Tape® asked me to use their amazing printed tape to come up with an item kids could wear to prom (like a corsage, a purse, or even a whole dress or suit)! If you’ve ever wondered how to make Duck Tape® high heels, you’re in luck!
If your kids love Duck Tape®, they can enter the Stuck at Prom® Scholarship contest. Keep reading to find out details for how your kids can enter and possibly win a $5,000 scholarship. 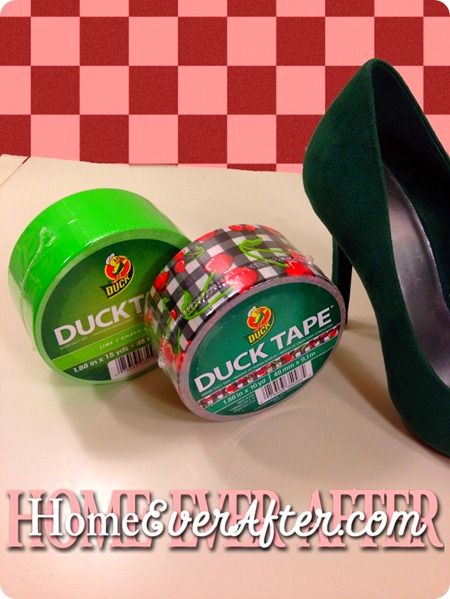
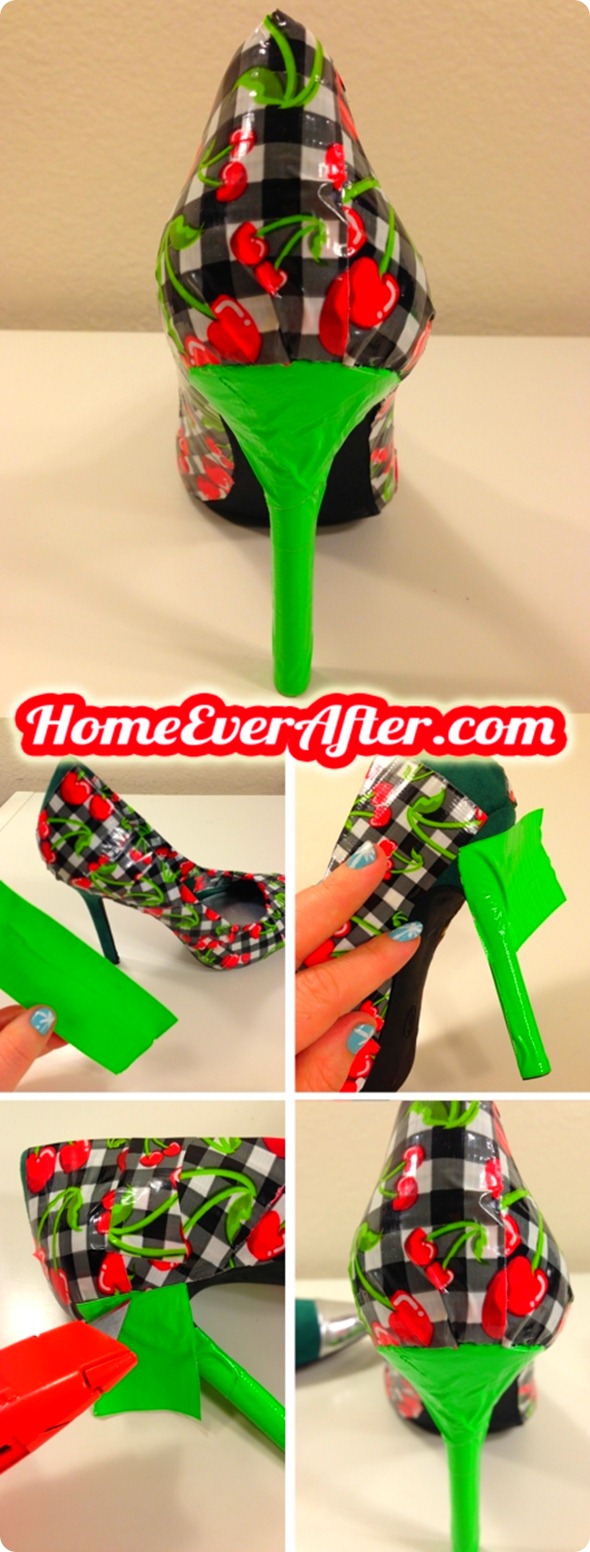
I decided to make some high heels for prom, but really make them stand out by creating a whole retro pinup look that would great for prom with a vintage hairstyle and dress. Duck Tape® sent me their new line of tape patterns and prints, and I chose 2 amazing tapes for my high heel project.
I used one solid (lime green) and one pattern (a black and white checkered background with juicy red cherries and lime green stems and leaves).

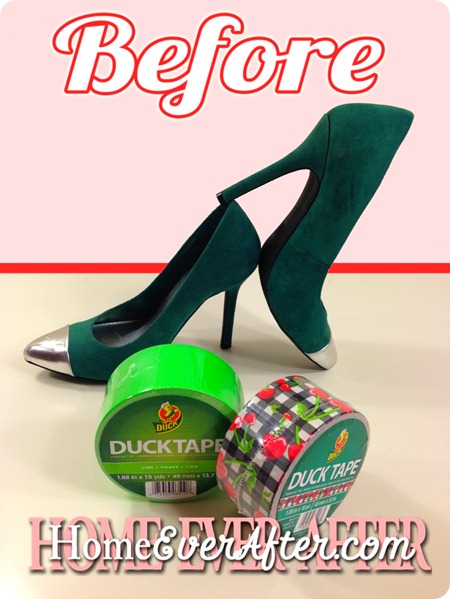
I wanted to make sure these would be the most unique shoes at prom and that NO ONE would be wearing anything like them. I went to my local Goodwill thrift store and picked up these basic high heeled pumps for $3.99. They are forest green suede with a silver metallic toe. They looked like the perfect base for my retro pinup Duck Tape® creation!
DIY: How to Make Retro Pinup Duck Tape® Shoes
Wrapping a shoe with tape is more difficult than it sounds! If you want the tape to lay flat on the shoe for the best look, you need to make sure that you work with small strips of tape and only cover one small area at a time.
Supplies and tools needed: You’ll need at least 2 colors and/or patterns of Duck Tape®, shoes, scissors, and a razor blade or craft knife. To make the leaves, you’ll need posterboard (or part of a food box) and a permanent marker or pen.
Time to complete: Depending on how steady your cutting is, about 1 1/2 hours per pair of shoes. 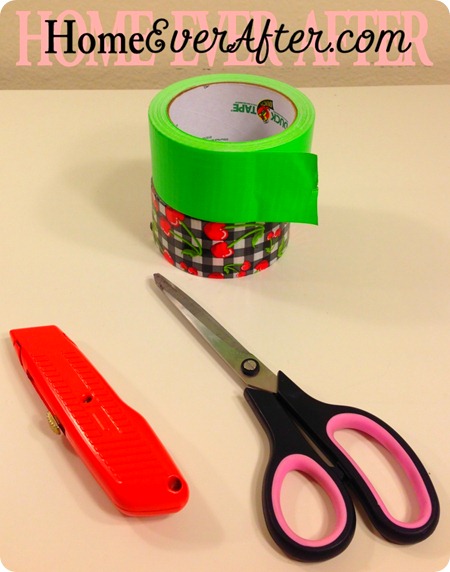
Step 1: Start at the inside of the shoe and wrap a strip of tape at an angle all the way to the sole. Cut the tape with a scissor and then use the razor to trim along the sole for a perfect fit and angle.
You want to make sure that the tape fits all the way to the sole so there isn’t a gap. We don’t want the plain shoe to show through!
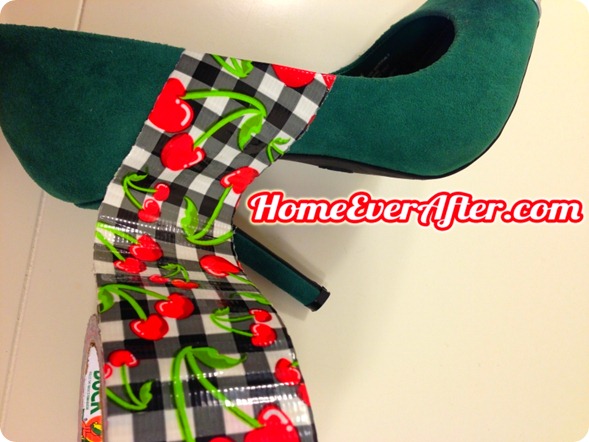
After wrapping the first piece of tape, our shoe should look something like this:
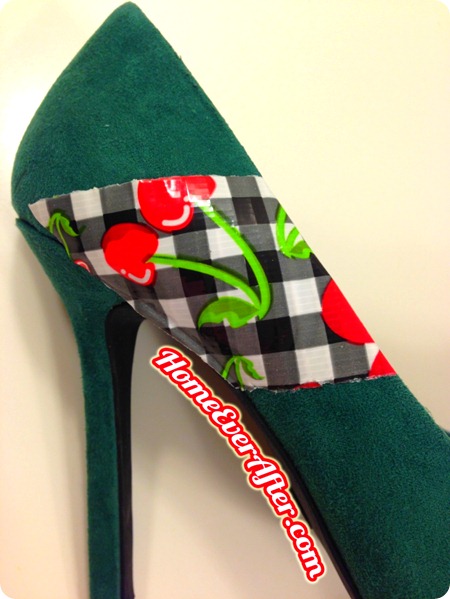
Step 2: Since you cut your tape at an angle for the first piece, you should have an angle that’s almost a perfect fit for your next piece. This time start at the sole, match up the edge, and wrap the tape to the inside of the shoe.
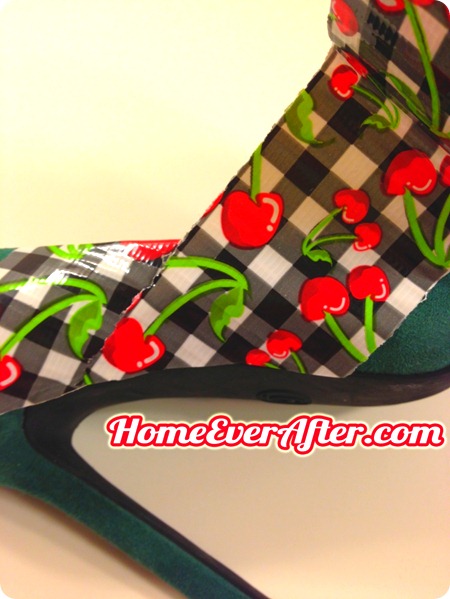
Step 3: Wrapping tape pieces around the curves of the shoe can be tricky. Since we want the tape to lay flat and not bunch up, we’ll use notches to keep it flat. On a curved area, make a small slice with your scissor on the piece of tape that wraps to the inside of the shoe. You can see an example of how to make the notch in the pictures below.
After cutting the notch, wrap each triangle tightly to the inside by pulling them firmly away from each other and pressing down to the inside of the shoe.
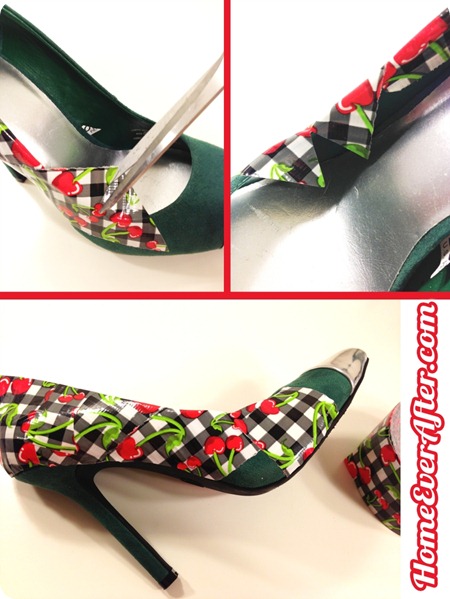
Step 4: You’ll end up with small uncovered spaces on the shoe that are too small for a strip of tape. Cut the approximate size and shape to cover the hole and match it up.
Step 5: The high heel is a small piece that takes patience! I used a high contrast color (lime green) on the heel so it would really stand out. Start at the bottom and wrap the Duck Tape® around the heel in small strips. The process is shown below.
Step 6: Use the razor blade or craft knife to trim the tape at the seam where the heel section meets up with the shoe. Work slowly and carefully to get a perfect curve!
Step 7: I decided I wanted a strong accent on the front of my retro pinup Duck Tape® shoes, so I created some lime green Duck Tape® leaves to attach! Find a piece of posterboard or a cardboard piece from a food box. I chose a flap from a tea box for my base.
Step 8: Draw the rough outline of 4 leaves (2 for each shoe) and cut them out.
Step 9: Cover the cardboard in green Duck Tape® by wrapping around and pressing down the edges on the back side.
Step 10: Bend your leaf slightly in the middle to form the center crease. Use a permanent marker to draw the crease and vein lines.

Step 11: Cut a small strip of tape and make an inside out loop from it (sticky on the outside). Stick the tape in place on the shoe and position the leaf accents so that they look realistic.
Voila! There you have a one-of-a-kind retro-tastic Duck Tape® prom shoe that no one else will have!
If you love Duck Tape® and want more fun project ideas, you can check out their facebook page.
How to Enter the Stuck at Prom® Scholarship Contest
Duck Tape is giving away $40,000 in cash scholarships for fellow Duck Tape® lovers! Here are the official rules and FAQs for the contest. The prizes for each level earn the entrants a cash prize and an equal amount for their school as well.
Go to Stuck at Prom® and click on the Enter Now button. That’s where you’ll upload the pictures of your Duck Tape® prom outfit that you and your date wore to prom!
Prizes:
1st place: $5,000 each
2nd place: $3,000 each
3rd place: $2,000 each
Runners up: $500 each (7 winners for this place)
Singles winner: $500
Who can enter: Must be 14 years or older, USA or Canada resident (see rules for states excluded), and must go to a prom!
When: Get your entries in by June 10, 2013. Voting runs from June 13 to July 8, 2013. Winners will be announced on July 11th!
Good luck with your Duck Tape® projects!
FTC DISCLAIMER: This sponsored post has material connections. Danelle Ice was compensated for conducting this DIY and publishing this post. Duck Tape® also provided Danelle with a selection of tapes to facilitate the craft project. Only Danelle’s honest opinions are given.

One Comment
Mary Wroblewski
Hello and thank you for this practical idea!
After all, what woman doesn’t have at least a few pairs of scuffed shoes–too dingy to wear but not quite ready for the garbage pile, either.
I also appreciate the pictures and your very specific instructions. All I need is the tape; then I can get started!
Thank you, thank you!
Mary